I have been known as the Crafty Little Minx for some time. The name came from our little Fur baby Minx who has been the boss of our house for nearly 18 years.
Sadly, over the past few years another website has been set up with a rather more salubrious product being brought to market! My inbox started to fill up with some rather salacious content so I took the decision earlier this year re-brand and use the opportunity to have my own website. Plus it was always quite difficult to explain to peeps that my business was named after my cat! Well I guess I am still a bit of a crazy cat lady
For a number of years I have been known for my KISS Classes – KEEP IT SIMPLY STUNNING. I love showing people how to make beautiful, but simple cards. It’s such a joy to see that lightbulb moment when someone makes their first card and realises how easy it really is.
So it made sense to rebrand under the name for which I was really known
So if you have been following this site, I am sad to say this will be my last post here, but I do hope you will follow me to my new shiny website.
All my upcoming events and the latest news will be shared there and you can even sign up to receive my newsletter and all my blog posts so you won’t miss a thing!
So its Goodbye from the Crafty Little Minx and Hello from Sara Sayers at KISS Kreative.
As I mentioned previously last weekend was Create It, the largest craft show in our area & I was very privileged to be working with two of my fellow demonstrators on the Stampin’ Up! Stand. We had a fabulous display of projects ranging from simple stamping, which is great for beginners right up to some designs which would really interest the more avid crafter.
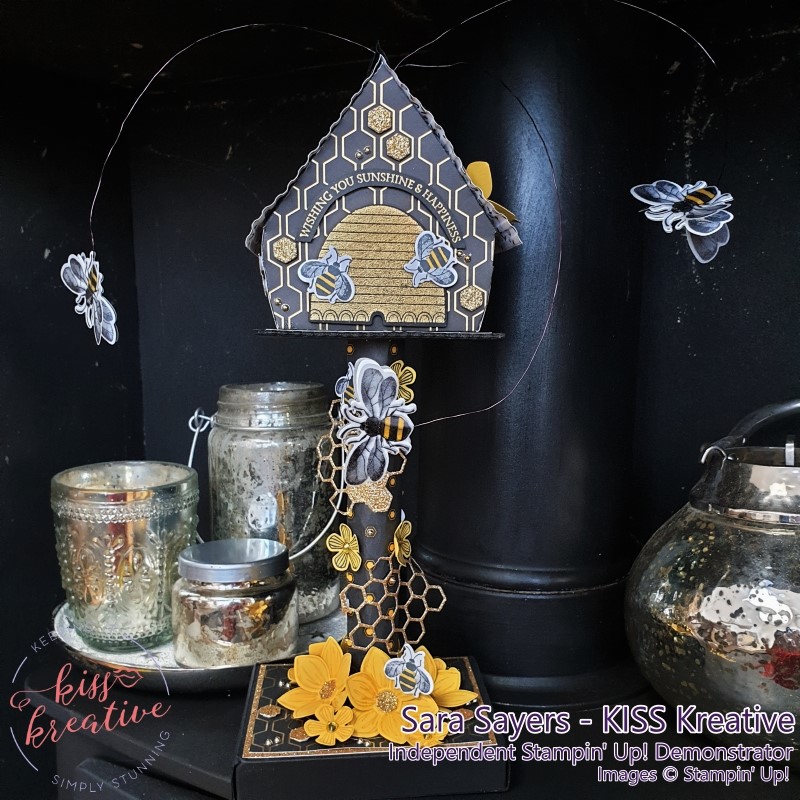
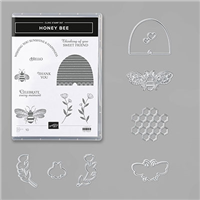
So I had huge amount of fun making a special wow project using the Honey Bee Bundle. I had lots of comments from peeps visiting the stand so I thought I would share some photos with you.
Bee Happy Show Stopper
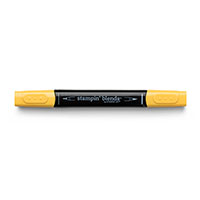
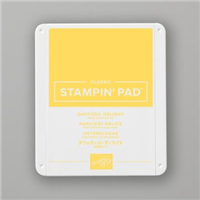
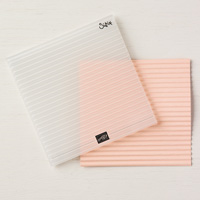
I used the FREE (with a £45 qualifying order) Sale-A-Bration papers to make the base, Stand and birdhouse. They are so pretty and I coloured the white areas on the stand with a Daffodil Delight Blend.
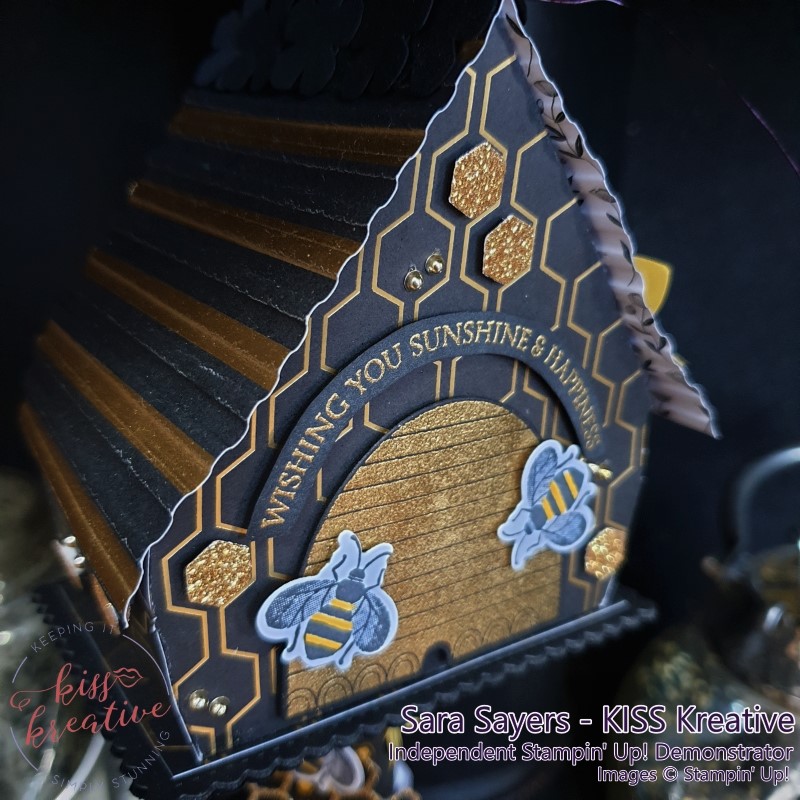
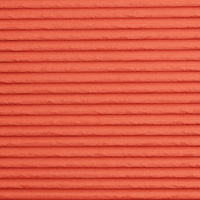
The roof was given a tiled effect by running it through the Corrugated 3D Embossing folder. The Bee hive front & Sentiment was Stamped and embossed in gold.
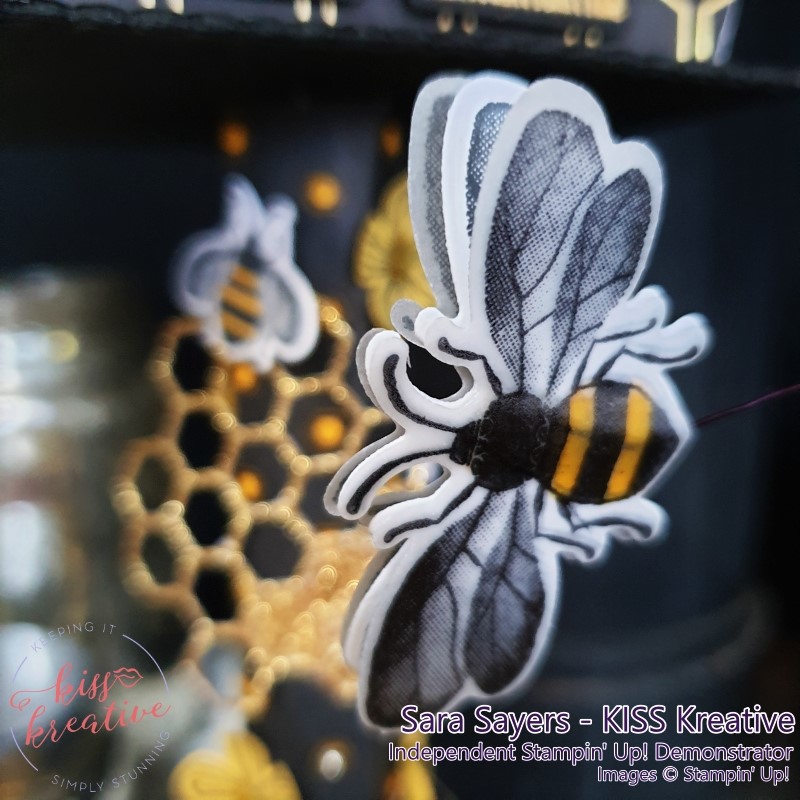
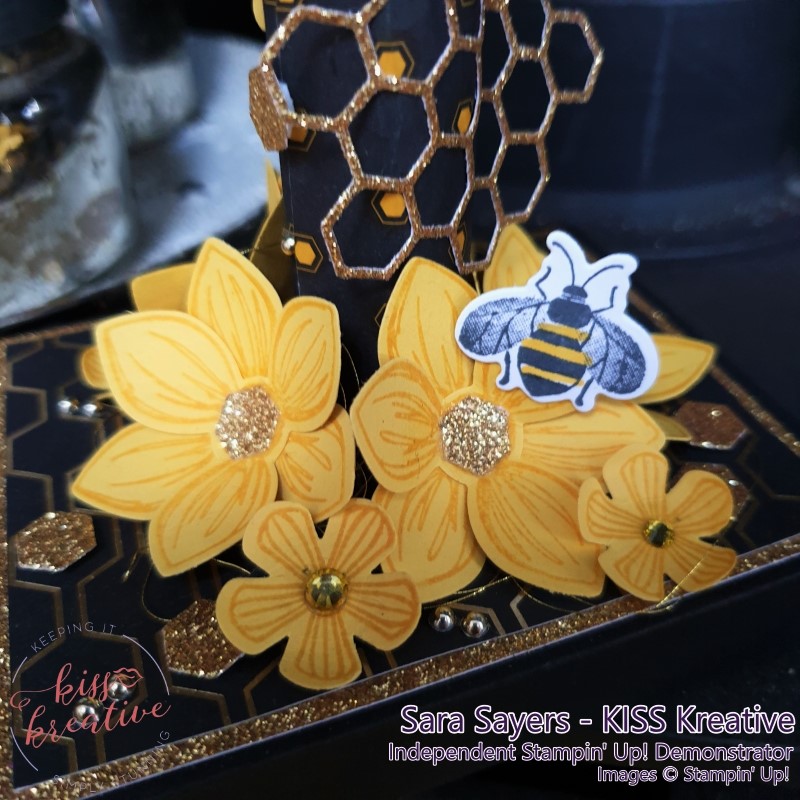
I cut some of the hexagonal shapes in gold glimmer and attached both the outlines and the middle elements all over. The middle hexagonal pieces made fabulous flower middles! The Bees were stamped on Whisper White and Vellum, then coloured with the blend and then sandwiched together with some florist wire so they could ‘fly’ around the hive. The flowers were stamped and punched in daffodil delight and attached using glue dots and finished off using some Diamante coloured with a Daffodil delight blend pen.
Voila!
Don’t forget
If you would like to purchase any of the Stampin’ Up! items used for this project, click on the product photos below. You will be taken to my Online Shop where you can find more information and order craft products 24/7!
Is your Stampin’ Up! order less than £150? If so, use the current Reward Code below and receive a free gift from me along with other perks!
If your order is over £150 please do not use the code as you will be your own Hostess and get your own rewards to spend! That’s free stuff that you get to chose what ever you wish from the current catalogues and clearance rack
or if your order is £99 and above consider joining my team and picking up a whole host of extras. Check it out here
Welcome to our monthly Casually Crafting Blog Hop! The theme for our hop is – Appreciation
So who are we? We are a group of Stampin’ Up demonstrators who just love to stamp when ever we can. We particularly love the type of cards that are simple and easy to make with just a few products. So would ideally suit beginner and casual crafter’s. However occasionally we will add a wow project that would suit a more avid crafter. We will be sharing our ideas on the 3rd Friday of each month and you can hop around the group and gather loads of inspiration. So grab yourself a cup of your favourite beverage, sit back & enjoy the hop!
Casually Crafting – Appreciation
We are now back from our trip in South Africa, which finished with a relaxing few days at a Safari lodge near Kruger Park. Bliss! We were lucky to see this cute leopard cub whilst we were there. On the drive there via the Blythe canyon we got to see some beautiful flora & fauna & the views were spectacular. However, I’m still happy to be home and back in my craft room with a whole stack of new items from the mini Catalogue to play with. However for or today & tomorrow, I will actually be sharing some of my makes at Create It in Farnborough, which is one of the biggest annual craft events in the area.
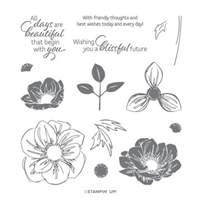
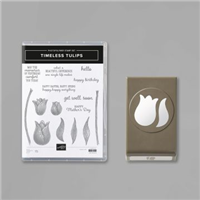
Appreciation – Timeless Tulips
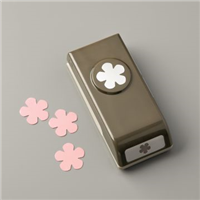
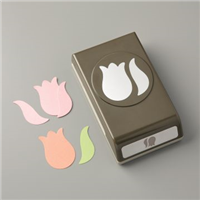
I adore tulips! As soon as I see them in the florists, I know spring is on its way & I always have a bowl full on the table as soon as they come into season. So it was a no brainer when I saw this beautiful stamp set in the mini catalogue. Even better there is a coordinating punch, which is just £30.50 for both! PLUS just add some note-lets or embellishments to get to a £45 order and you have the opportunity to chose a FREE item from the Sale-A-Bration brochure. BONUS! There are also some new coordinating papers, which you could add to reach that Sale-A-Bration sweet spot!
Timeless Tulips – Mothers Day Card
For me showing appreciation is all about connecting with someone and letting them know how much you care. There are so many ways to show appreciation, but with Mother’s Day coming up next month I wanted to make a card for my Mum that showed her how much I appreciate her.
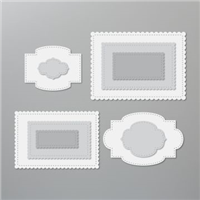
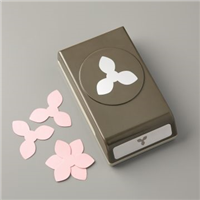
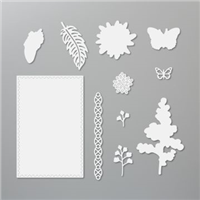
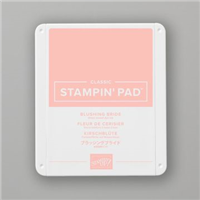
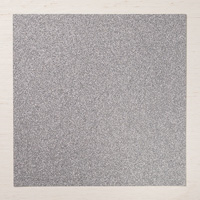
I wanted to make an extra special card so constructed an 8″ x 8″ card and then folded the front back on itself to create an easy Z fold back card. I sponged the edges of some Blushing Bride card stock and attached it to the front and the insides. To create some additional wow, I added some die cut flowers to each corner. I then attached a 6″ x 6″ front, which was then matted and layered with more sponged Blushing Bride, Silver Glimmer and Whisper White card stock.
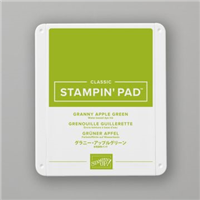
The top layer of whisper white was again sponged around the edges on to which, I stamped the bowl, sponged in some water & stamped the stalks from the Timeless Tulip set using Granny Apple Green Ink. I then stamped & punched lots of tulips and leaves, & arranged using Dimensionals. I repeated the process for the inside but this time kept the top layer clean and added two of the beautiful sentiments from the set.
Finally I finished off with a die cut message and added some super cute butterflies from the Nature’s Thoughts Dies which are from the new Coordination product release. These are only available whilst stocks last.
It really is a wow project fitting for a wonderful Mum, but it really is quite simple once you have all the tulips and leaves punched. You could easily leave out the die cutting and replace them with stamped imaged or just leave plain.
So do you think she will like it?
Timeless Tulips – Bowl of Birthday Tulips
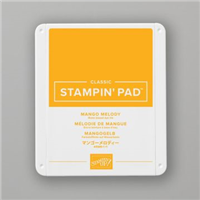
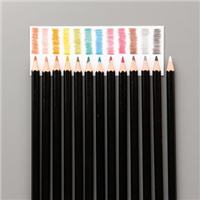
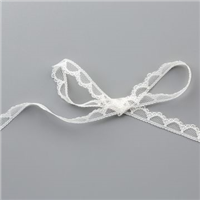
My second, simpler card shows the tulips off in a more casual way and would suit any occasion. Once again I stamped the bowl, added the stalks, then I stamped & punched the tulips in Mango Melody. To make them pop a little, I coloured the bottom with a Real Red water colour pencil and added a little Wink of Stella to help blend the colours and make them sparkle. I finished off with a sentiment and a touch of lace.
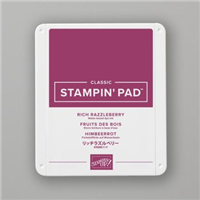
Making these cards are quite addictive. Once I started I couldn’t really stop so I made a couple more. For this one I inked up the top half in Rich Razzleberry and then daubed Granny Apple Green ink around the bottom before stamping. I’m not sure which one I prefer. Which one is your favourite?
Timeless tulip – A Simple Hello
Sometimes, all you need to show appreciation is send a card. just to say hello. It’s not something I do as often as I should, but I thought I would make up a batch to send to a few friends that have been going through some tough times. I used a sponge brayer to add Mango Melody, Calypso Coral, Mango Melody & Pineapple Punch to a piece of whisper white and then simple punched and added some of the punched tulips in Basic Black. I added the sentiment using Tuxedo Black memento. Finally I added some Wink of Stella to the flowers, but sadly it doesn’t really show up in the photo’s
Voila!
So what do you think? A huge bowl of Tulips, Simple Florals or something in between? Which do you prefer? Please let me know in a comment.
You may have arrive from Hilary’s blog or started here, but do go hop onto the next blog which is the uber talented Barry. Just click on the photo and it will take you straight there.
And the rest of the blog Roll
Just to note:
If you would like to purchase any of the Stampin’ Up! items used for this project, click on the product photos below. You will be taken to my Online Shop where you can find more information and order craft products 24/7!
Is your Stampin’ Up! order less than £150? If so, use the current Reward Code below and receive a free gift from me along with other perks!
If your order is over £150 please do not use the code as you will be your own Hostess and get your own rewards to spend! That’s free stuff that you get to chose what ever you wish from the current catalogues and clearance rack
or if your order is £99 and above consider joining my team and picking up a whole host of extras. Check it out here
During Sale-A-Bration you can chose a FREE item with every £45 qualifying spend. So the more you order the more free items you could get! Contact me for more details.
Welcome to our monthly Casually Crafting Blog Hop! The theme for our hop is – Love & Appreciation
So who are we? We are a group of Stampin’ Up demonstrators who just love to stamp when ever we can. We particularly love the type of cards that are simple and easy to make with just a few products. So would ideally suit beginner and casual crafter’s . We will be sharing our ideas on the 3rd Friday of each month and you can hop around the group and gather loads of inspiration. So grab yourself a cup of your favourite beverage, sit back & enjoy the hop!
Hubby & I in front of Table Mountain complete with its cloud table cloth!
Casually Crafting – Love and Appreciation
I ‘m still away on my trip, following the England Cricket team in South Africa so I am still working with a restricted number of items from my hand luggage. I am absolutely loving my time in this beautiful country and this week we have been travelling down the Garden Route before we head to Port Elizabeth for the 3rd Test.
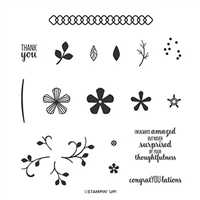
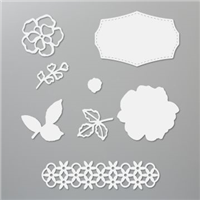
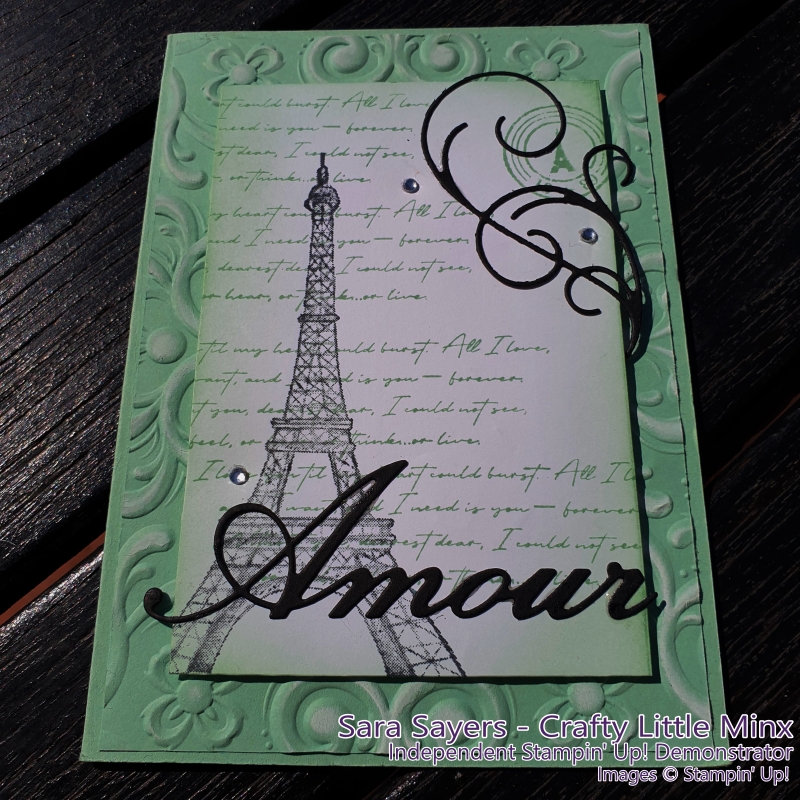
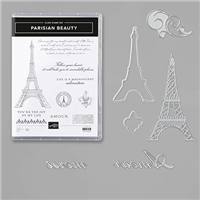
Sharing the love – Parisian Beauty
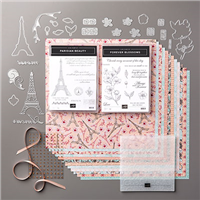
I’ve been fortunate to visit some pretty romantic places during my travellers, but nowhere quite speaks to me like Paris. So for this blog hop I just had to grab the Parisian Beauty Bundle for this project. This pretty bundle is part of the stunning Parisian Blossoms suite and is priced at £40.50. Just add some note-lets or embellishments to get to a £45 order and you get to chose a FREE item from the Sale-a-bration brochure. BONUS! Trust me there are some super cute stamps, punches, patterned papers to pick and who doesn’t love a bargain
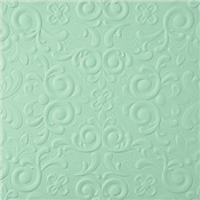
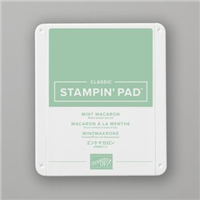
With Valentines coming up I wanted to make a card for hubby that wasn’t gushing flowers, hearts and my go to pinks and purples. He really doesn’t do mushy or girly! I opted for a pared down palette of Black White and Mint Macaroon.
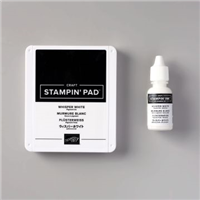
I had already embossed the piece of Mint Macaron using the Parisian Flourish 3D Embossing folder. How adorable is this Embossing folder? The depth, detail and quality of the emboss card is simply wonderful. One of those must have all occasion products . I then gently wiped a Whisper White Ink pad across the surface to highlight the stunning scrolls. Its such a simple, yet effective technique.
TIP: Whisper White ink is a thick, opaque consistency so do give it plenty of time to dry so you don’t get smudges. In a hurry don’t worry! Just use your heat gun to dry the ink.
The topper is simply stamped with variety of the images from the stamp set in Black and Mint Macaron Ink. I then used a sponge dauber and some Mint Macaron Ink around the edges to soften the edges. I think it makes the whole card look a little more romantic and dreamy.
The dies in this set are so delicate and chic, so I used the Amour and cute scroll in basic black with some simple diamante to finish the project. Hopefully my hubby will like it. What do you think?
Sharing the love – All my Heart
Love and appreciation isn’t all about Valentines and hearts. My second card is for those peeps who just want to show their love or appreciation. Quick and simple to make, so easy to assemble in a hurry or alternatively make a bunch and have them ready to grab when you need them.
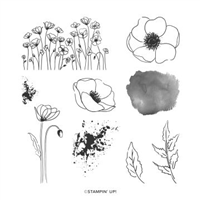
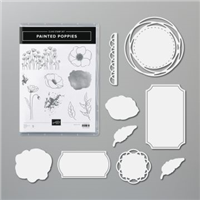
I grabbed the adorable Painted Poppies stamp set simply & stamped the Poppy & the sentiment onto some Whisper White card using Memento Tuxedo Black Ink. To add a vibrant dash of colour I then stamped the background stamp in Poppy Parade (well with a name like that I had too! LOL). The texture is just amazing. A little dab of Wink of Stella in the middle of the poppy, just brings the flower alive.
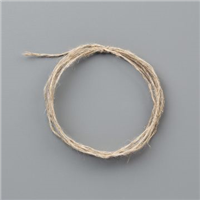
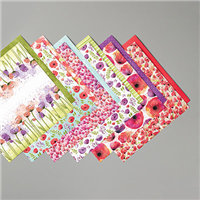
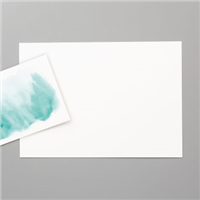
I mounted the images onto a piece of the Peaceful Poppies patterned paper using dimentionals added a bow of bakers twine and then adhered the topper to one of our notecards. Add a few dimante & you are done. Super quick and easy.
Voila!
So what do you think? French chic or Simple Florals? Which do you prefer? Please let me know in a comment.
You may have arrive from Hilary’s blog or started here, but do go hop onto the next blog which is the uber talented Barry. Just click on the photo and it will take you straight there.
And the rest of the blog Roll
That’s Me!
The lovely Heather is joining us this month.
Just to note:
If you would like to purchase any of the Stampin’ Up! items used for this project, click on the product photos below. You will be taken to my Online Shop where you can find more information and order craft products 24/7!
Is your Stampin’ Up! order less than £150? If so, use the current Reward Code below and receive a free gift from me along with other perks!
If your order is over £150 please do not use the code as you will be your own Hostess and get your own rewards to spend! That’s free stuff that you get to chose what ever you wish from the current catalogues and clearance rack
or if your order is £99 and above consider joining my team and picking up a whole host of extras. Check it out here
Welcome to the very first Casually Crafting Blog Hop! The theme for our first hop today was easy to chose – Celebration
So who are we? We are a group of Stampin’ Up demonstrators who just love to stamp when ever we can. We particularly love the type of cards that are simple and easy to make with just a few products. So would ideally suit beginner and casual crafter’s . We will be sharing our ideas on the 3rd Friday of each month and you can hop around the group and gather loads of inspiration. So grab yourself a cup of your favourite beverage, sit back & enjoy the hop!
Casually Crafting – Celebration
I am currently away on my winter holidays, following the England Cricket team and in between matches seeing some beautiful places in South Africa and Namibia. Its something we have done for about 15 years and hubby and I love it! We have made many friends over the years and its great to catch up whilst with them. We will also be celebrating a few birthdays whilst we are away, so I managed to sneak a few stamp sets and crafting bits in my hand luggage, which have also worked perfectly of this hop (TIP: Snips in the hold).
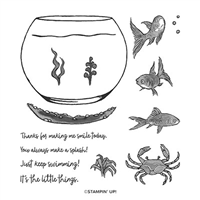
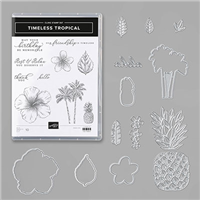
Sneak Peak – Timeless Tropical
So I just had to grab the Timeless Tropical Bundle from my case for this project. This pretty bundle is part of the stunning Tropical Oasis suite and will be available to order from the 3rd January (check out the links at the bottom of the post for your wish list) and is priced at £48.50. So that means you get to chose a FREE item from the Sale-a-bration brochure. BONUS! Trust me there are some super cute stamps, punches, patterned papers to pick and who doesn’t love a bargain
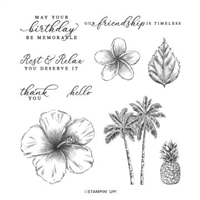
My first card, was one that literally took just a few minutes to make and just uses stamps, ink, paper and some twine, diamante and my favourite finishing touch……….
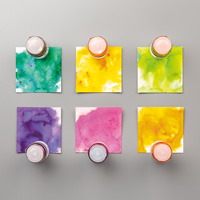
I drew my inspiration from some of the stunning sunsets we have seen. I simply used four inks to watercolour the sunset and then once it had dried stamped the image and sentiment in Tuxedo Black Memento ink. I then wrapped some white bakers twine around the card and then attached it to the base using some dimensionals.
I gently washed over the water coloured sunset with my trusty Wink of Stella. I just love the way it can transform a simple card to stunning. A few sparkles on the palm trees to represent coconuts and its done!
Sneak Peak 2 – Timeless Tropical
My second card is celebrate a special friend in my life and as soon as I saw the pineapples I knew she would love it paired with this elegant meaningful sentiment.
I simply stamped the pineapples & the sentiment using smoky slate Ink and then coloured the pineapples with blends. I then embossed the card using my go to Subtles embossing folder and then used the brand new Coastal Weave 3D embossing folder (151503) which is part of the Tropical Oasis Suite. The detail is just amazing. (Please note I didn’t bring my Big shot with me in my hand luggage LOL! I had already prepared this card at a play date with a friend earlier in the month)
Voila!
So what do you think? Casual and celebration? Which do you prefer? Please let me know in a comment.
You may have arrive from Hilary’s blog or started here, but do go hop onto the next blog which is the uber talented Barry. Just click on the photo and it will take you straight there.
And the rest of the blog Roll
Thats me!
Don’t forget
If you would like to purchase any of the Stampin’ Up! items used for this project, click on the product photos below. You will be taken to my Online Shop where you can find more information and order craft products 24/7!
Is your Stampin’ Up! order less than £150? If so, use the current Reward Code below and receive a free gift from me along with other perks!
If your order is over £150 please do not use the code as you will be your own Hostess and get your own rewards to spend! That’s free stuff that you get to chose what ever you wish from the current catalogues and clearance rack
or if your order is £99 and above consider joining my team and picking up a whole host of extras. Check it out here
I’m still travelling in New Zealand, but thought I would just jump on and let you know that tomorrow we have free shipping on any orders over £35. Saving you the standard £4.95! So grab those last minute bits for Christmas or perhaps pick up a bargain from the year end sale. Do you have any friends or family who still need to get you a gift? What about picking up something from the clearance rack with your saving?
Don’t forget to use this months customer code and I will send you a gift in the post when I get back form my travels
It’s Monday so it must be By Royal Appointment time. This week it is my pleasure to host the Guest blog and so I thought I would share a card that we recently made in class.
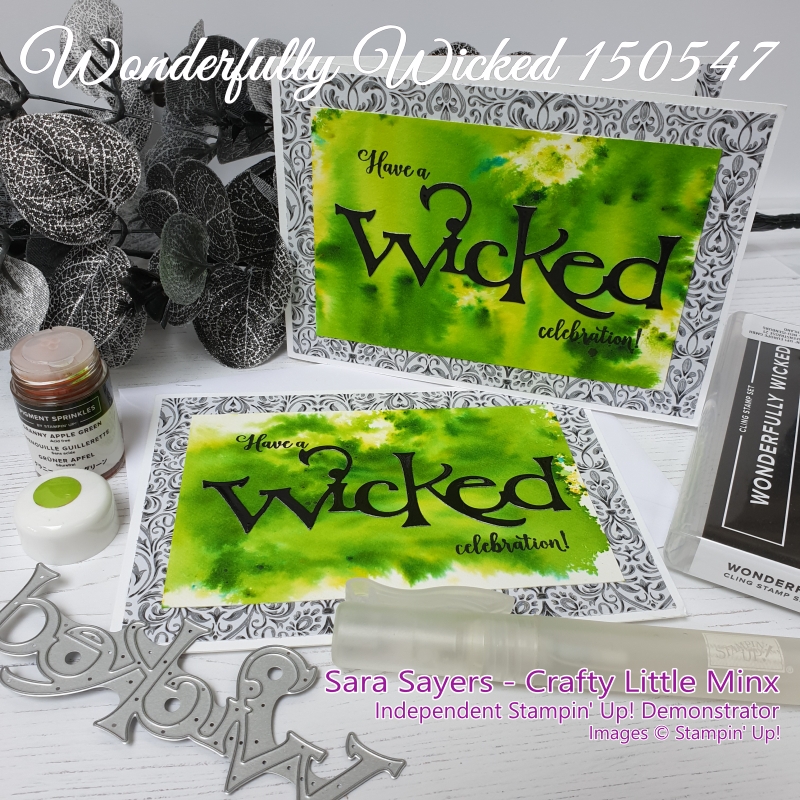
Wicked celebration
I blinked and Autumn snuck up on me when I wasn’t looking! One day I was in shorts, T-shirt and flip-flops & the next day it was woolly jumpers and proper shoes weather. My feet are feeling rather claustrophobic now they are encased again! Don’t get me wrong, I love this time of year…. the changing colours, lazy Sunday afternoons with a roast in the oven & snuggling up guilt free in my craft room feeling joyous at being able to use glitter and metallic card stock with wanton abandon! With the latest Autumn/ Winter catalogue brimming with wonderful products I find that my creative juices have been at full flow. However the one event in the autumn calendar that my class attendees struggle with is Halloween. It’s just not an occasion that we generally celebrate in the UK with cards and its a little too early to start with the trick or treat packaging. Trouble is I had fallen in love with the Wonderfully Wicked stamp set……….. and its coordinating die.
So I came up with this card which uses the bundle, but is an all occasion celebration card. What do you think?
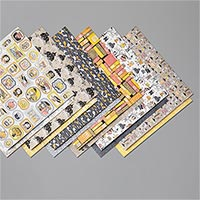
The DSP (patterned paper) is all Halloween papers from the Monster Bash Suite. I then took a piece of watercolour card spritzed it with water & then added Granny Apple Green Pigment Sprinkles. Once it was dry I die cut the wicked out of black foil card and stamped the words using my Stamparatus.
My class attendees loved it. One of the ladies thought it would be great as a Theatre gift card for someone who wanted to see Wicked!!
I was tempted to add a few sequins, but in the end decided to keep it simple and let the sprinkles be the magic!
Voila!
The Pigment sprinkles come in a great priced six pack and I think any of the colours would work in this design. |I can’t wait to try it in Mango Melody or Gorgeous Grape! Plus if you buy the stamp set and coordinating dies as part of a bundle you can save 10% off the combined price so great value as well!
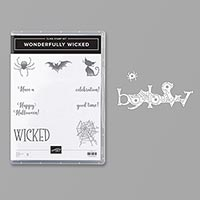
Don’t have a copy? Would you like one? If you would like to buy from me and are not currently a demonstrator or have one you buy from, then send me a message here with your name and address and I will pop one in the post to you.
Don’t forget
If you would like to purchase any of the Stampin’ Up! items used for this project, click on the product photos below. You will be taken to my Online Shop where you can find more information and order craft products 24/7!
Is your Stampin’ Up! order less than £150? If so, use the current Reward Code below and receive a free gift from me along with other perks!
If your order is over £150 please do not use the code as you will be your own Hostess and get your own rewards to spend! That’s free stuff that you get to chose what ever you wish from the current catalogues and clearance rack
or if your order is £99 and above consider joining my team and picking up a whole host of extras. Check it out here
Today is World Mental Health Day. This year’s theme set by the World Federation for Mental Health is suicide prevention. So it seemed appropriate to use the Natures Beauty set. Why might you ask? Well of course I want you to ‘need’ ALL the stamp sets in the catalogue, but this one has a special place in my heart. For every stamp set sold in the UK, then £2.50 (€3,00), is donated to Mental Health Europe.
World Mental Health Day – Nature’s Beauty
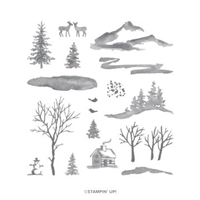
I absolutely love stamp sets that allow me to play. I really wanted to make a card so that you would all want to buy it and help raise money for a cause that is very close to me heart. Thank you Stampin’Up! Nature’s Beauty is a lovely stamp set with beautifully drawn animals: a deer, a rabbit, a fox as well as several different groupings of trees and grass. It will be great for many different occasions.
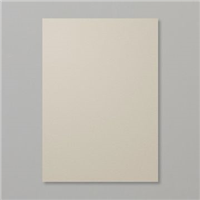
I drew my inspiration from a stunning card made by Debby Hughes. I changed up the layout. I covered one of our D blocks with whisper White Ink and stamped it onto a piece of Sahara Sand Cardstock. I then stamped the cute little fox and the branches in Memento Black ink.
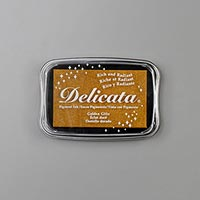
Once dried I over stamped in the beautiful Golden Glitz Delicata Metallic Ink. Its subtle but creates a lovely effect.
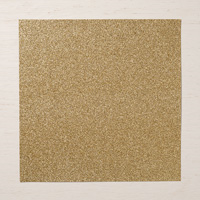
A piece of embossed Basic Black card, a sliver of Gold Glimmer and a stamped stamped sentiment from the Itty Bitty Christmas stamp set is all you need to finish this simple card.
Voila!
This card would work with any of the animal images and would look stunning with the trees. Its a great way to use up some small scrapes of glimmer and card stock that we always seem to collect and never use (I’m sure its not just me!) It’s also a great layout for mass production of Christmas cards but equally change up the sentiment and you could use it for notelets, thank you’s or those tricky men’s cards
Don’t forget
If you would like to purchase any of the Stampin’ Up! items used for this project, click on the product photos below. You will be taken to my Online Shop where you can find more information and order craft products 24/7!
Is your Stampin’ Up! order less than £150? If so, use the current Reward Code below and receive a free gift from me along with other perks!
If your order is over £150 please do not use the code as you will be your own Hostess and get your own rewards to spend! That’s free stuff that you get to chose what ever you wish from the current catalogues and clearance rack
or if your order is £99 and above consider joining my team and picking up a whole host of extras. Check it out here
Thank you for joining us for this wonderful “By Royal Appointment Guest Blog” post. This is something we do every Monday and each week we will welcome a different designer from our amazing team, the Royal Stampers. So this week our guest designers are Barry & Jay from Mitosu Crafts. A huge thank you to them for this project. All the details can be found below which will also link to Mitosu Crafts website so you can look at other beautiful creations made by them. Enjoy the amazing creativity from the wonderful Barry & Jay and if you have any questions, please drop me a message.
Snow Front Christmas Card
Hello & welcome to today’s Snow Front Christmas Card inspiration.
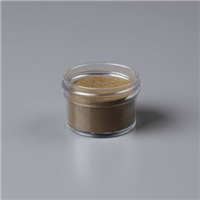
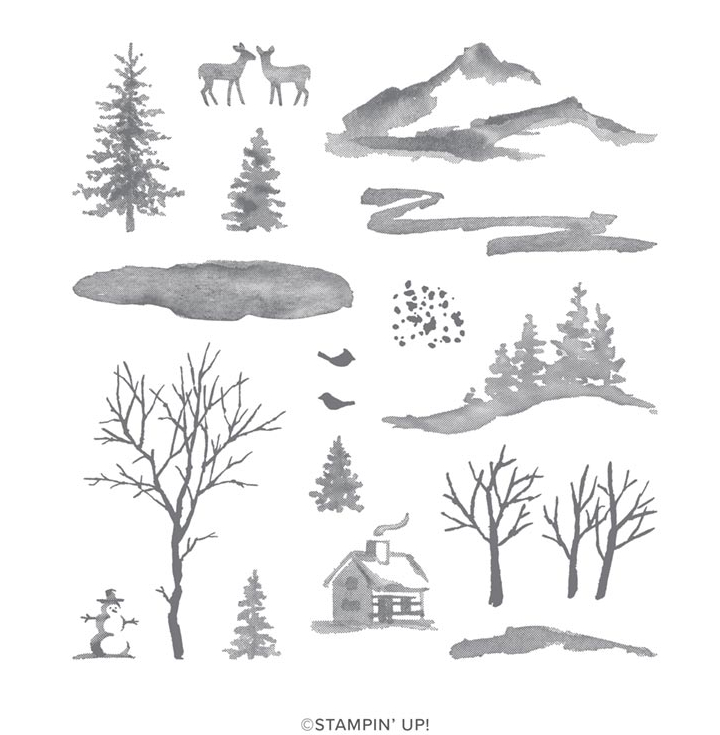
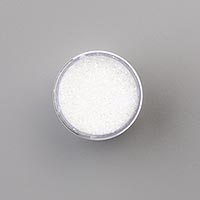
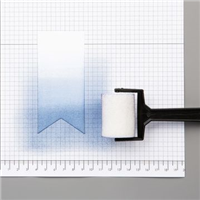
Below you will find the pictures and a video tutorial showing you how I created this beautiful scene using just the Snow Front Stamp Set as well as the new Ice Stampin’ Glitter and some other crafty tools.
The Snow Front Stamp Set is fast becoming a favourite of ours and we can see many more projects being made with this set.
Don’t you just love it when you get a stamp set that you can just create & create & create with and you still get a different result every time?
To see how I created this scene with the Snow Front Stamp set click on the video below to have a watch & please feel free to add your comment either to this post or on the video.
Sit back and enjoy.
What a great project from the guys. I will certainly be having a go with this technique soon.
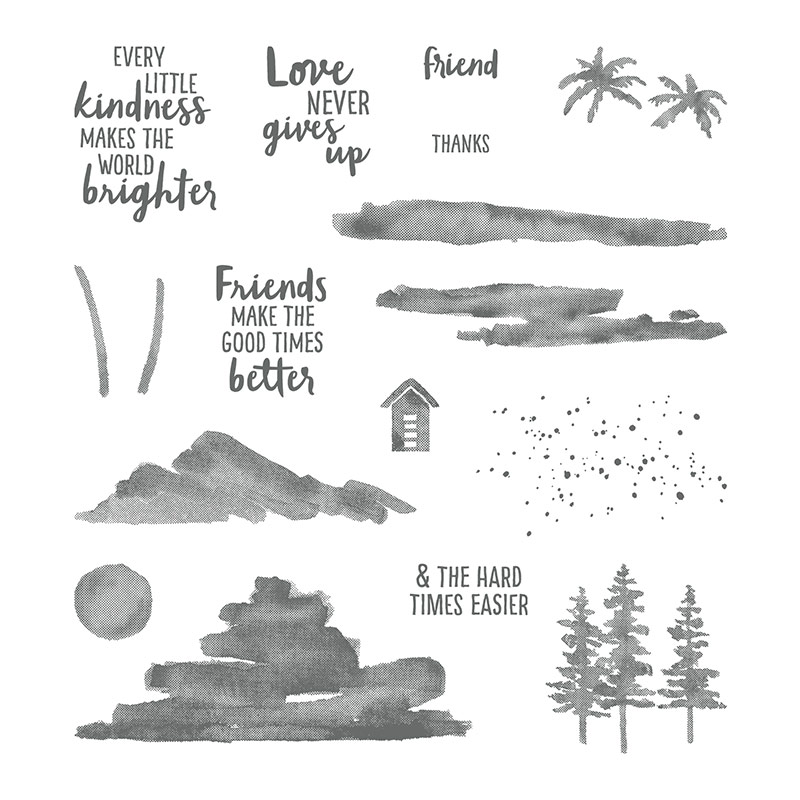
So has that got your creative juices flowing !! LOL. Well this stamp set is on page 45 of the Autumn/Winter catalogue This is great value stamp set with lots of options to create a huge variety of scenes, not just Christmas and pares well with the Waterfront set on page 125 of the Annual Catalogue
Don’t have a catalogue? Would you like one? If you would like to buy from me and are not currently a demonstrator or have one you buy from, then send me a message here with your name and address and I will pop one in the post to you.
Don’t forget
If you would like to purchase any of the Stampin’ Up! items used for this project, click on the product photos below. You will be taken to my Online Shop where you can find more information and order craft products 24/7!
Is your Stampin’ Up! order less than £150? If so, use the current Reward Code below and receive a free gift from me along with other perks!
If your order is over £150 please do not use the code as you will be your own Hostess and get your own rewards to spend! That’s free stuff that you get to chose what ever you wish from the current catalogues and clearance rack
or if your order is £99 and above consider joining my team and picking up a whole host of extras. Check it out here
It’s Monday so it must be By Royal Appointment time. This week it is my pleasure to host the Guest blog and so I thought I would share a card that we recently made in class.
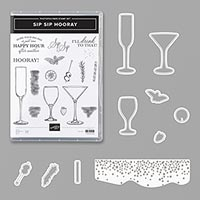
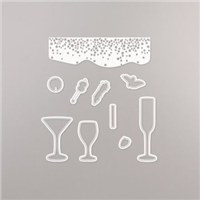
Sip Sip Hooray
August was wedding season for me. I was fortunate to be a guest at three weddings and each one was very different. One of the new drinks I was introduced to was a pink gin cocktail. It was a mix of Pin gin, rhubarb spritz and Prosecco. Quite a heady, but delicious mix, which became my inspiration for this card.
I love the fact that you can ‘mix’ the images in this fabulous set to create pretty much any cocktail you would wish to have! So what would be your choice? Mine is probably a mojito, but only on holidays & very special occasions…….
The Grapefruit Grove card base was die cut using the bubble die the coordinating set. I attached a piece of gold foil behind to really make the bubbles shine. I added some extra sparkle using the gorgeous Golden Glitz Delicata Metallic Ink Pad.
The glasses were stamped in Memento Black ink and coloured using Grapefruit Grove ink. A wink of stella made the glasses really sparkle
Add the sentiment and a few sequins and you have a great celebratory card
Voila!
My class attendees really enjoyed making this card, but boy was the floor covered in little orange spots afterwards! You can spot a few on the card that I didn’t notice until I was editing the shots… OOPs
So has that got your creative juices flowing !! LOL. Well this stamp set is from the new Autumn/Winter catalogue and as you can see this catty is not just for Christmas. I can see this becoming being one of my go to sets. Plus if you buy the stamp set and coordinating dies as part of a bundle you can save 10% off the combined price so great value as well!
Don’t have a copy? Would you like one? If you would like to buy from me and are not currently a demonstrator or have one you buy from, then send me a message here with your name and address and I will pop one in the post to you.
Don’t forget
If you would like to purchase any of the Stampin’ Up! items used for this project, click on the product photos below. You will be taken to my Online Shop where you can find more information and order craft products 24/7!
Is your Stampin’ Up! order less than £150? If so, use the current Reward Code below and receive a free gift from me along with other perks!
If your order is over £150 please do not use the code as you will be your own Hostess and get your own rewards to spend! That’s free stuff that you get to chose what ever you wish from the current catalogues and clearance rack
or if your order is £99 and above consider joining my team and picking up a whole host of extras. Check it out here